
I ordered two of these beautiful enamel light shades and was really impressed with the quality and craftsmanship even though they were described as seconds. Unfortunately, the colour wasn't quite right for my project, so I had to return them. The return process was straightforward, and the customer service was excellent throughout. I wouldn't hesitate to order from this company again and would highly recommend them. Great products and a pleasure to deal with.

Really please with my purchase great quality

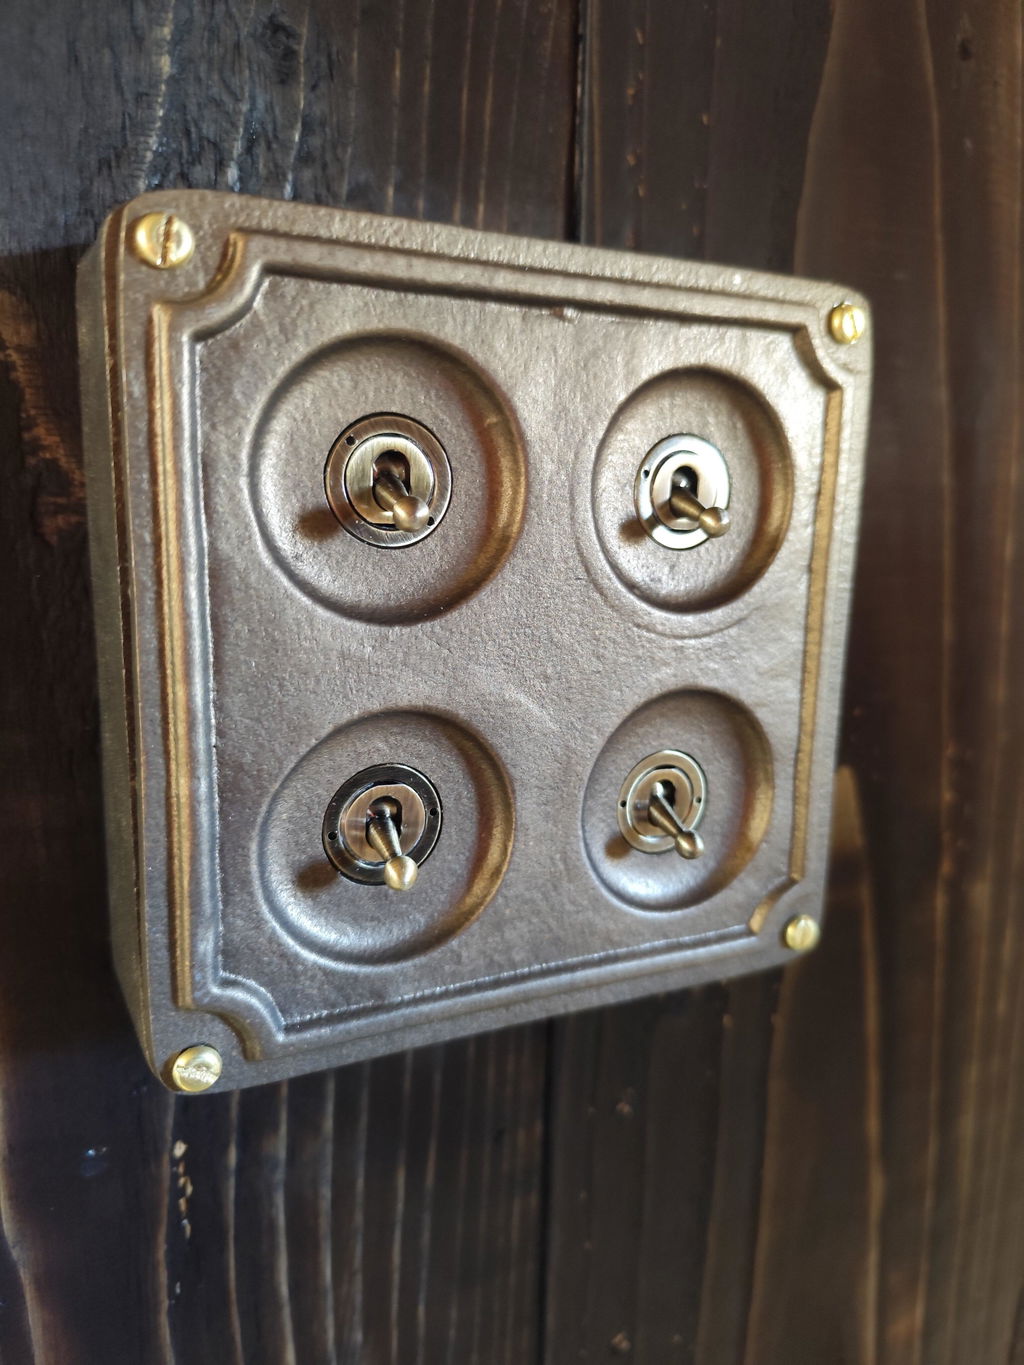
Brushed Steel Double Switched 13A Power Socket 230V 2 Gang 2G Socket Cast Metal Conduit Switch Industrial


It’s perfect. Great quality.

Have bought a few things from here, really happy with all the items I have purchased, great prices and great quality and super fast delivery!! Thank you so much 🤩, highly recommend them.

These are a lovely light. We have 3 we bought and put up then decided we had to have another to complete the look. Gorgeous.


These lights are just lovely. They are solid brass and beautiful. They add a very exquisite touch to our newly paved entrance steps and are particularly appealing because they are a good match with our Yorkshire stone flags. Highly recommended.

Great company they deal with problems fast & efficient good customer care service & there products are good quality all good

Bought this Gentleman's stand for my husband as a fathers day gift - he absolutely loves it.

Very solid, well made
Exactly what I wanted for my kitchen

My husband loves it. A great product at a great price & super swift delivery. 5 star. Thank you.!

After 12 years I took down my cheap looking high street, bought in haste as the kitchen was being extended. So finally I have the right high quality shades in my favourite colour..red. They look wonderful but best of all the quality shines through. 5 star rating.

Stunning and excellent quality. Its a present for my folks golden wedding and truly is lovely.

Beautiful lampshade. I wanted something quirky but had so much trouble finding a patterned shade so small. It’s absolutely perfect. I wish there was a bigger selection of small shades as I could do with a different for another room. Would highly recommend

The switch is beautiful, enough said.

I am very pleased with with the copper lamp, I wanted it for my 90th birthday funny he is called COPPER delighted thank you so much. Susan wardle

The switches not only look good but are a very good quality, and finished well. I'm very impressed. Service was great and fast delivery. The only problem I had was me being in the EU the customs charges were high, almost 1/3 of the original price.

lovely light for a small but tall area, was nice to find something different.
good fast service helpful team

lovely clock good fast service

Fast dispatch, amazing quality! Will recommend you!

Arrived promptly and was exactly as advertised. Love it!

Exactly what I was looking for. This didn’t disappoint
Thanks


